Kodi is an open-source media player which is a free application that functions as a digital media center. This application enables you to play your media, cast it between various devices, from a primary location to other devices.You can use Kodi on most of the operating systems such as Android, Microsoft Windows, Linux, iOS, and devices such as Amazon FireTV, Smartphones, Apple TV, Xbox, and PC.

How to bring IPTV channels to Kodi
Installing Kodi is astonishingly simple. All you need to do is to download Kodi, double-click on the Kodi image and then perform the setup wizard. It’s that simple! After Kodi installed, you can download a big variety of add-ons to improve the experience. Here we will show you how to install IPTV on Kodi.
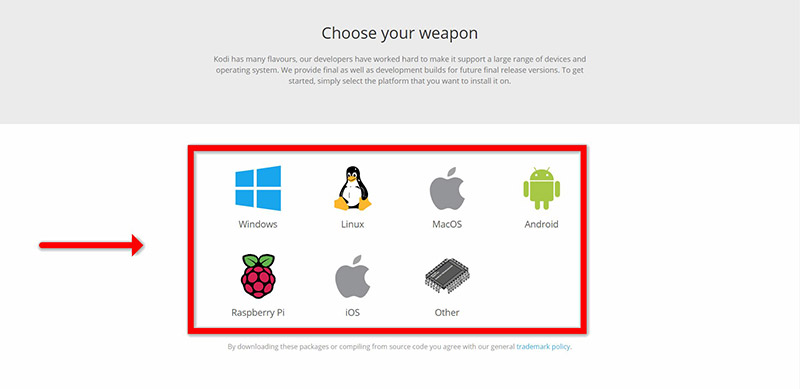
Step 1: Start by downloading Kodi based on your operating system:
https://kodi.tv/download.
In this case, we select “Windows“.
*Please note, here we guide how to setup IPTV in Kodi in Windows but the installation process is very similar in all operating systems.
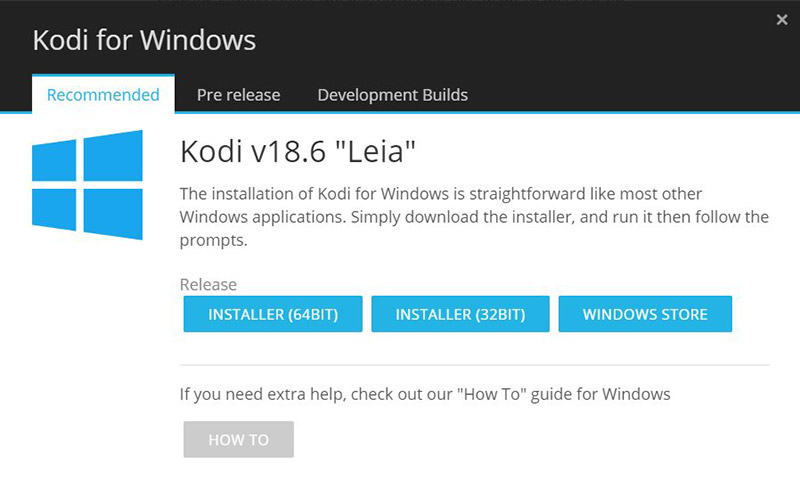
Step 2: Select 64 Bit or 32 Bit based on your operating system.
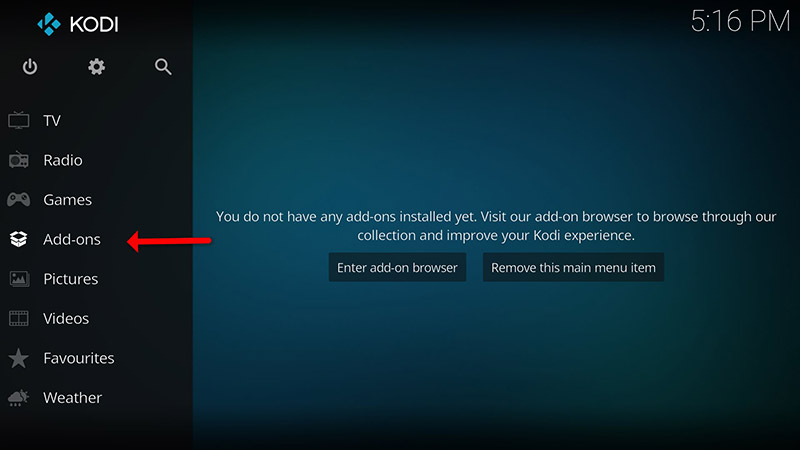
Step 3: After install and open it, click on “Add-ons“.
What is Kodi Add-on?
Step 4: Now click on “Download” then select “PVR clients“.
Note: We are going to download and install the PVR add-on here, after installing no need to go to the “Download“.
You can find the installed add-ons “My add-ons“

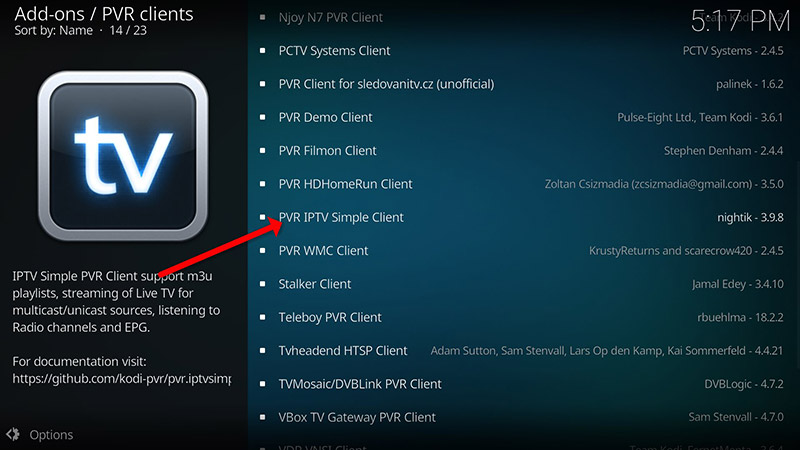
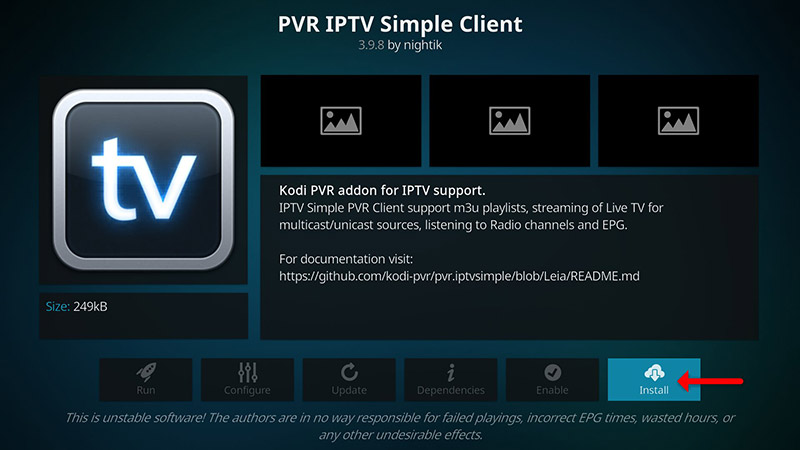
Step 5: Select “PVR IPTV Simple Client“.
Step 6: Now click on “Install“.
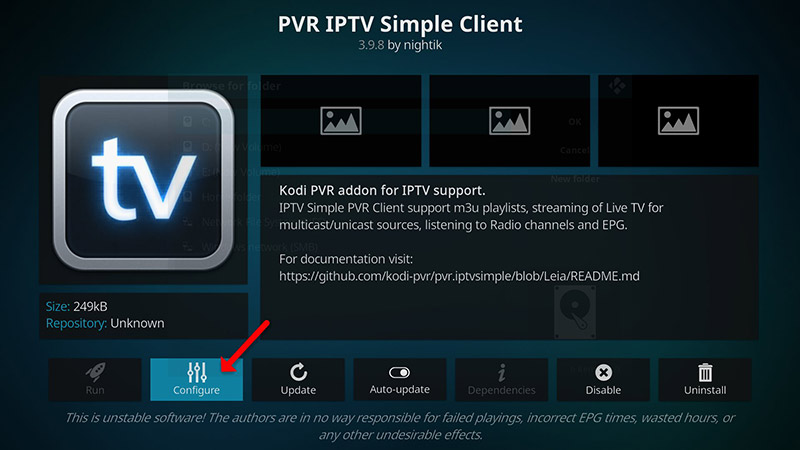
Step 7: After installing “PVR IPTV Simple Client” head back to “My add-ons” then “PVR Clients” and run the add-on.
Now click on “Configure“
Step 8: Now select “M3U Play List URL”.
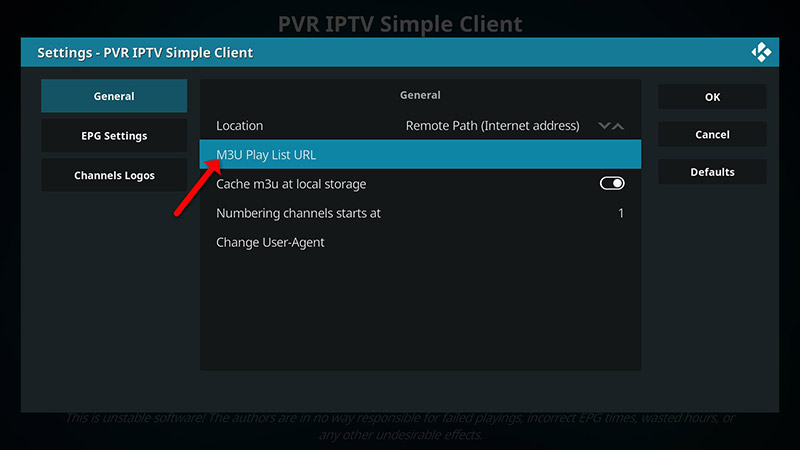
Step 9: Enter the M3U URL provided by your IPTV distributor and click “OK“.
Note: The progressive IPTV providers give you a dashboard which you can generate your M3U url in dashboard.
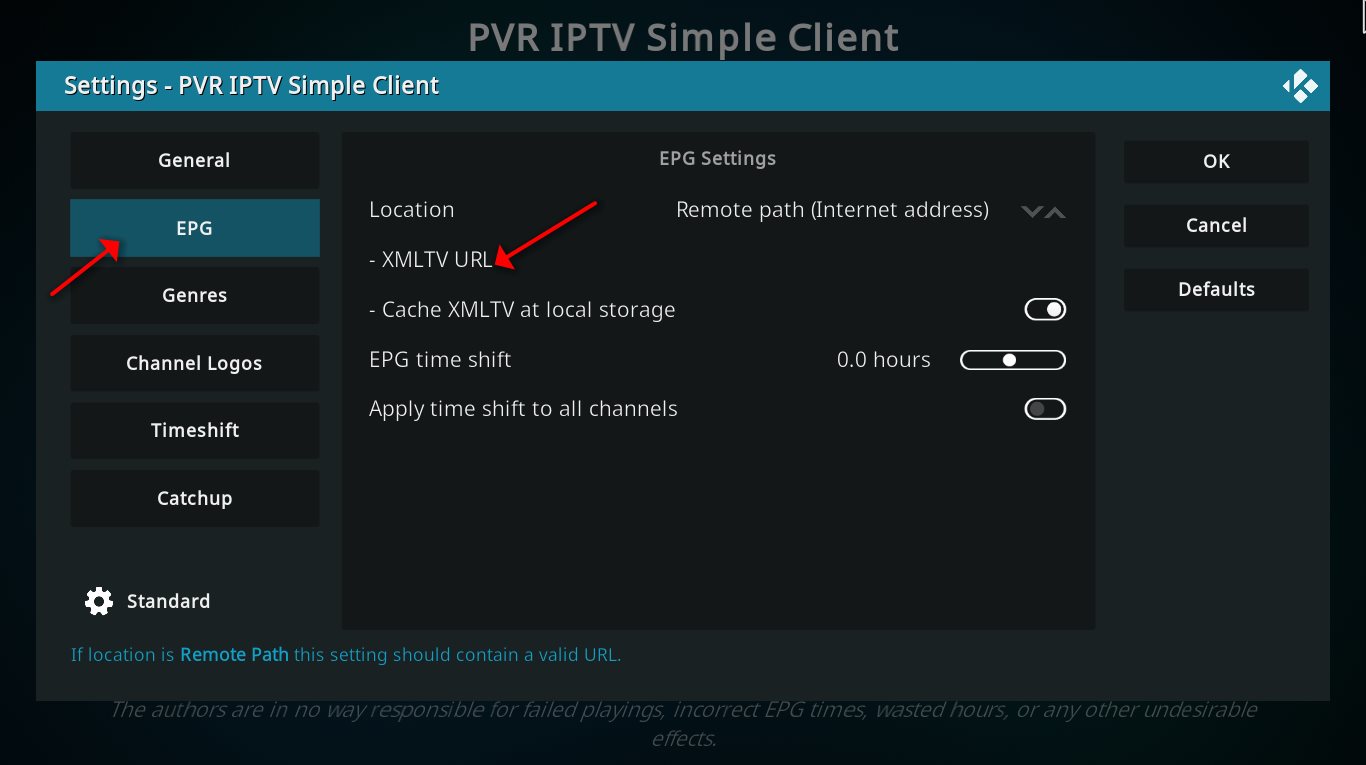
How to add EPG
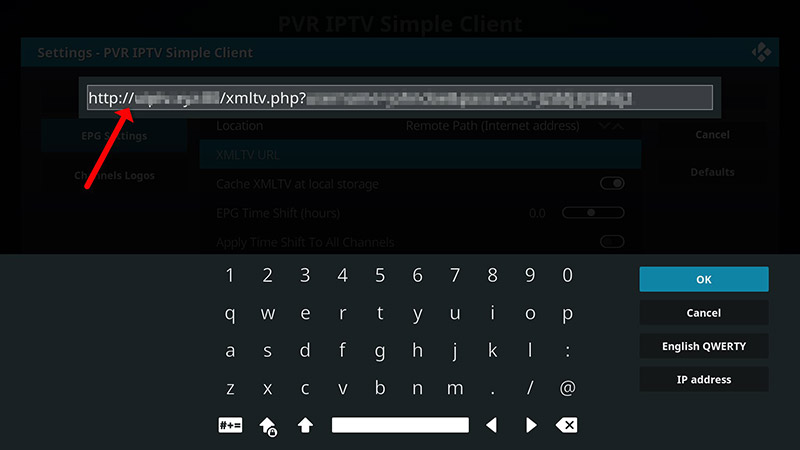
Step 10: Now go to “EPG Settings” and click on “XMLTV URL” for EPG. What is EPG?
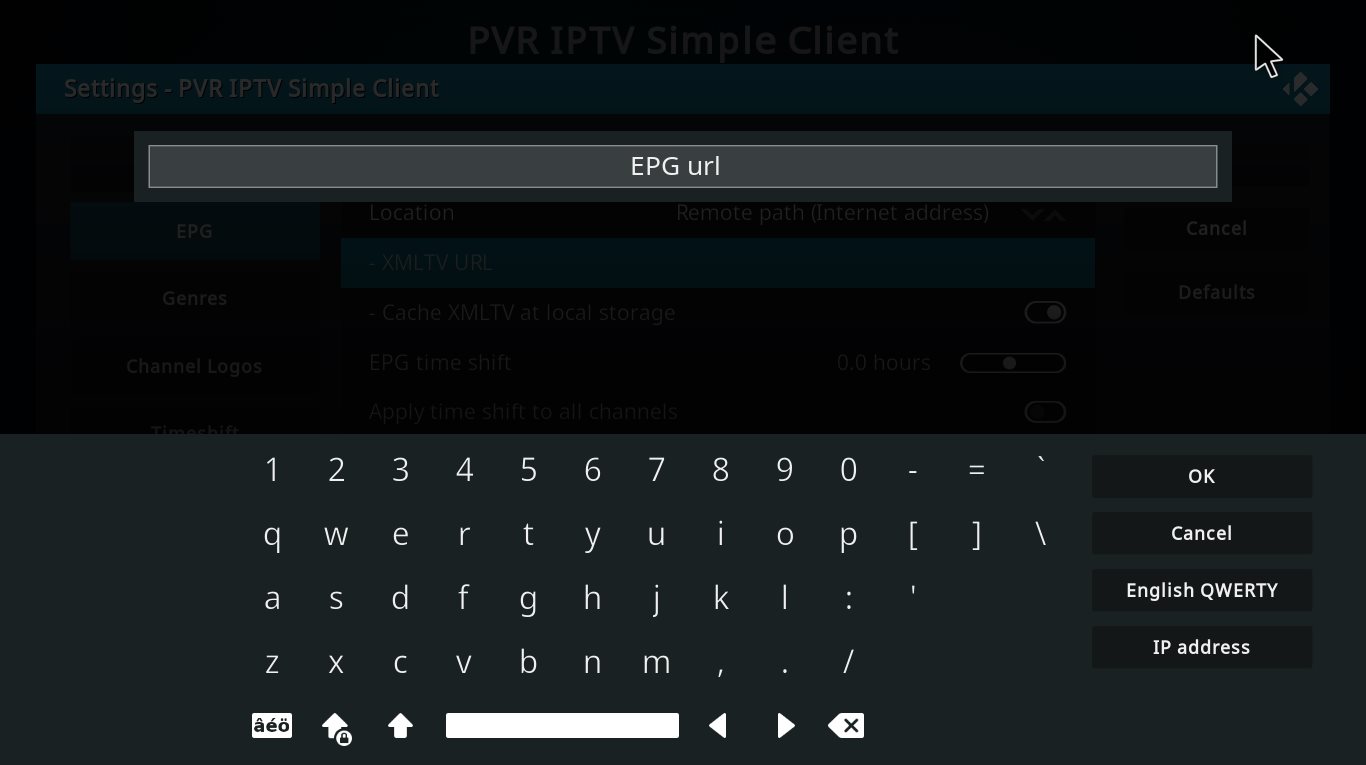
Step 11: Now paste your EPG URL and click “OK“.
You can get EPG url from your IPTV provider.
Step 12: Click on “Enable“.
Note: After you enable the add-on you will see “Disable”, this means the add-on enabled so do NOT to click on “Disable” again.

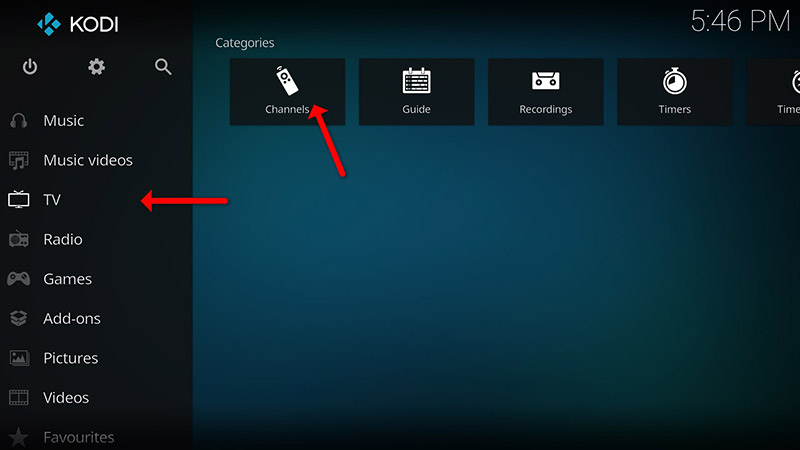
Step 13: Head back to “TV” and click on “Channels“.
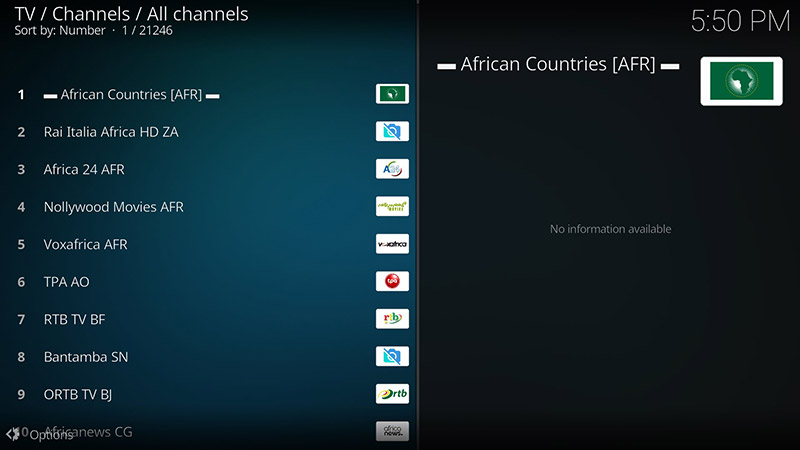
Step 14: Wait until you see the notification about updating channels and the installation process is over.
Well done, you have IPTV channels now.
Conclusion
Kodi is able to play virtually every media content that you can imagine and is very customizable. Kodi allows you to change the color, skin of the user interface based on your tasteful preferences. You can also download tons of various add-ons to make your entertainment world even more remarkable.
Please do not hesitate to ask your question in the comments if you need any further help.
Developed by iptvhelpcenter.com


Quisiera más información como poder configurar Iptv kodi canal y cuentas 3U
Hello
How can i help you more?
What more information do you need?
I FOLLOWED EVERY STEP AS PER INSTRUCTIONS TO SET UP M3U FILES ON KODI, AT THE END, I GOT THE MESSAGE” YOU NEED A TUNER,BACKEND SOFTWARE, AND AN ADD-ON FOR THE BACKEND TO BE ABLE TO USE PVR.PLEASE VISIThttp://kodi.wiki.view/PVR to learn more……….. how do i resolve this ???? am using an ANDROID BOX 9.1 , 4 GB 32 GB
Hi
Kodi is not a specific application for IPTV, if you have a android box you can try many other applications like IPTV Smarters or GSE player.
Já instalei por diversas vezes sem sucesso. Desconheço o que possa ter acontecido.
Hi
What’s the model of your device?
Do you have this error? failed to authorize
What’s the exact error message?
Where i can find the link fit EPG? Is ist the Same link as the m3u?
Hi
You should ask for it from your IPTV provider.
Followed all instructions but channels do not load. Please help!
Please check if you can download your m3u url in a browser or not?
I wabt you to send me a new M3U URL
You should ask for it from your IPTV provider, we are help center website.